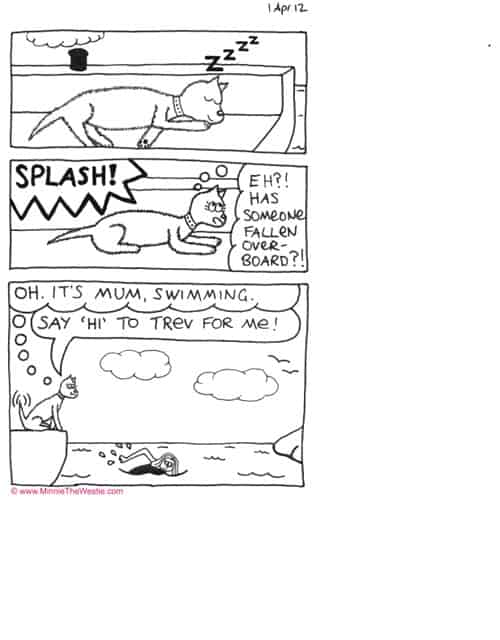
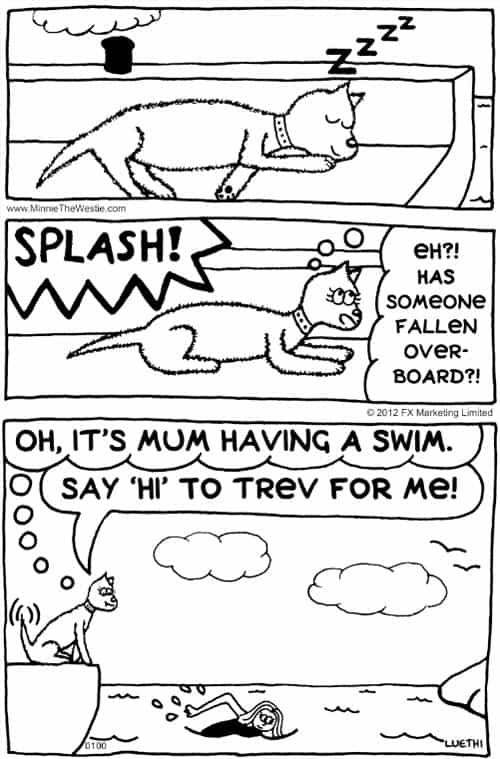
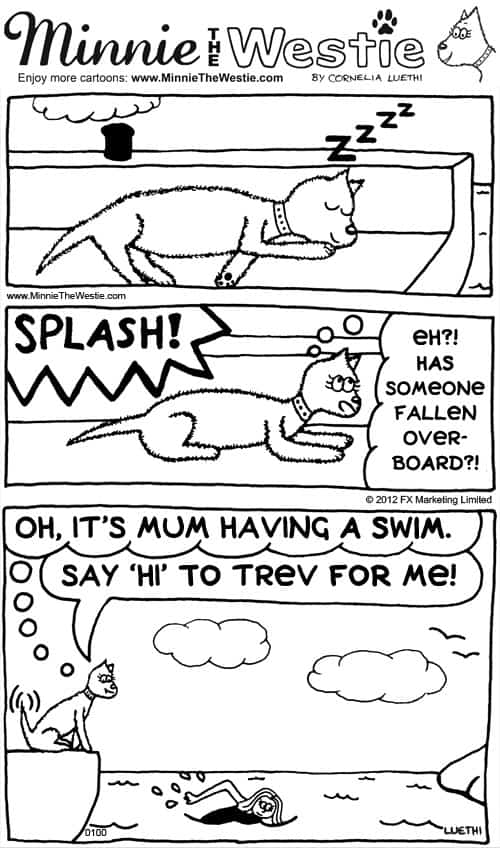
{The cartooning process} 3. Outlining
Woofings! Welcome back to my mini-series on how mum draws my cartoons.
Here’s what we’ve covered previously:
- Step 1: Cartooning materials + rough sketches
- Step 2. Fine sketches
Now we’ll look at the step 3: outlining the cartoons.
This is all about adding a black outline to the cartoons – after all, so far they’re pencil sketches, and they need to have that black line to stand out.
Mum says she has mixed feelings about outlining the cartoons…
…On one hand mum always has a chuckle as she wields her black outlining pens. You see, mum’s art teacher at secondary school told her off for always drawing black outlines around things. Apparently, according to this teacher (we’ll call her Miss Hards, ‘cos (a) that’s her name, and (b) she was quite hard on her students!), things in real life don’t have a black outline around them. I dispute that! *rolls eyes*
However, drawing this black line is quite tricky; one needs to be very steady-of-hand. Which mum is not. Her unsteady hands are great for belly rubs; but not so great for cartooning!
Here’s how mum approaches cartoon outlining with her not-so-steady hands
To get around her shaky hands, mum does the outlining on tracing paper, rather than directly on the cartoon. This means that if she makes a mistake, she hasn’t ruined her sketching work.
Here’s a list of materials mum uses for cartoon outlining:
- Sketch book with pencil sketches.
- Tracing paper cut to size. She uses quite thick tracing paper; the thin stuff wrinkles and moves. And the wrinkles show on the scanner (we’ll cover the cartoon digitising stage next time).
- Fold-back clips to hold the tracing paper in place. She uses two very small ones.
- Black outlining pens with nib widths ranging from 0.1mm to 1.0mm. These have quick-drying Indian Ink and she bought them from a local art shop. The brand she’s currently using is Staedtler.

The materials used for outlining Minnie The Westie cartoons include tracing paper, fold-back clips and Indian Ink pens.
When mum outlines, she draws the rectangular frames first of all; then adds the words and speech bubbles; and then she draws the rest of the cartoon.
This usually happens in a few stages; even though the pens are quite quick-drying, they still take a while to dry completely on the thick tracing paper. So mum has to be careful not to smudge the ink.
Has mum always done the outlining this way?
No, mum hasn’t always done the outlining this way. For my first book, she did the outlining directly onto the sketch, and then erased the pencil markings as best she could.
However, despite lots of rubbing out, she could never get rid of all the pencil marks, and that created a lot of PhotoShop work for her further down the track. (You’ll learn about PhotoShop and digitising cartoons in the next blog post in this series.)
Worst of all, sometimes she’d end up crumpling the paper when she got too carried away with the rubber! Horrors! So the tracing paper technique is saving a lot of time and frustration.
Anything else about outlining cartoons?
The only other thing I have to say about outlining cartoons is that mum is doing a lot of it at the moment! I am happy to report that she is making good progress on the cartoons for my second book… watch this space!
Anyway, next time we’ll look at the digitising stage, i.e. getting these hand-drawn cartoons onto the compawter.
Till next time!
Love ‘n’ licks,

To link to this post, use: https://www.minniethewestie.com/the-cartooning-process-3-outlining


 I was just doing a bit of web surfing and spotted that my book “Minnie The Westie: The Adventures Of A West Highland Terrier Cartoon Dog” is now available to order in online bookstores in the UK and in New Zealand (as well as the US)!


